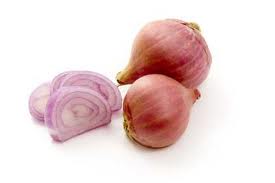
Easy to grow, “the aristocrats of onions”, usually mild and sweet, but can be quite assertive.
Botanical Information
Taxonomy
Aggregatum Group
Allium cepa
History
- probably native to Asia, but not known in the wild
Physical Description
Varieties & Cultivars
Categories or Types of Shallots
Shallots, multiplier onions, and potato onions, are essentially the same onion.
Differences:
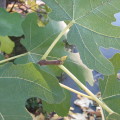
- Leaves:
- potato onions have one group of leaves that comes out of the throat of the bulb, sheathed as one
- shallots, on the other hand, have each leaf sheathed individually
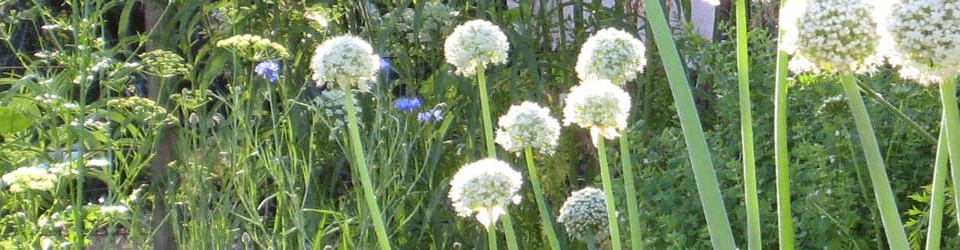
- Flowers:
- shallots, although only rarely, are the only ones to flower
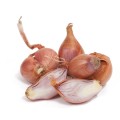
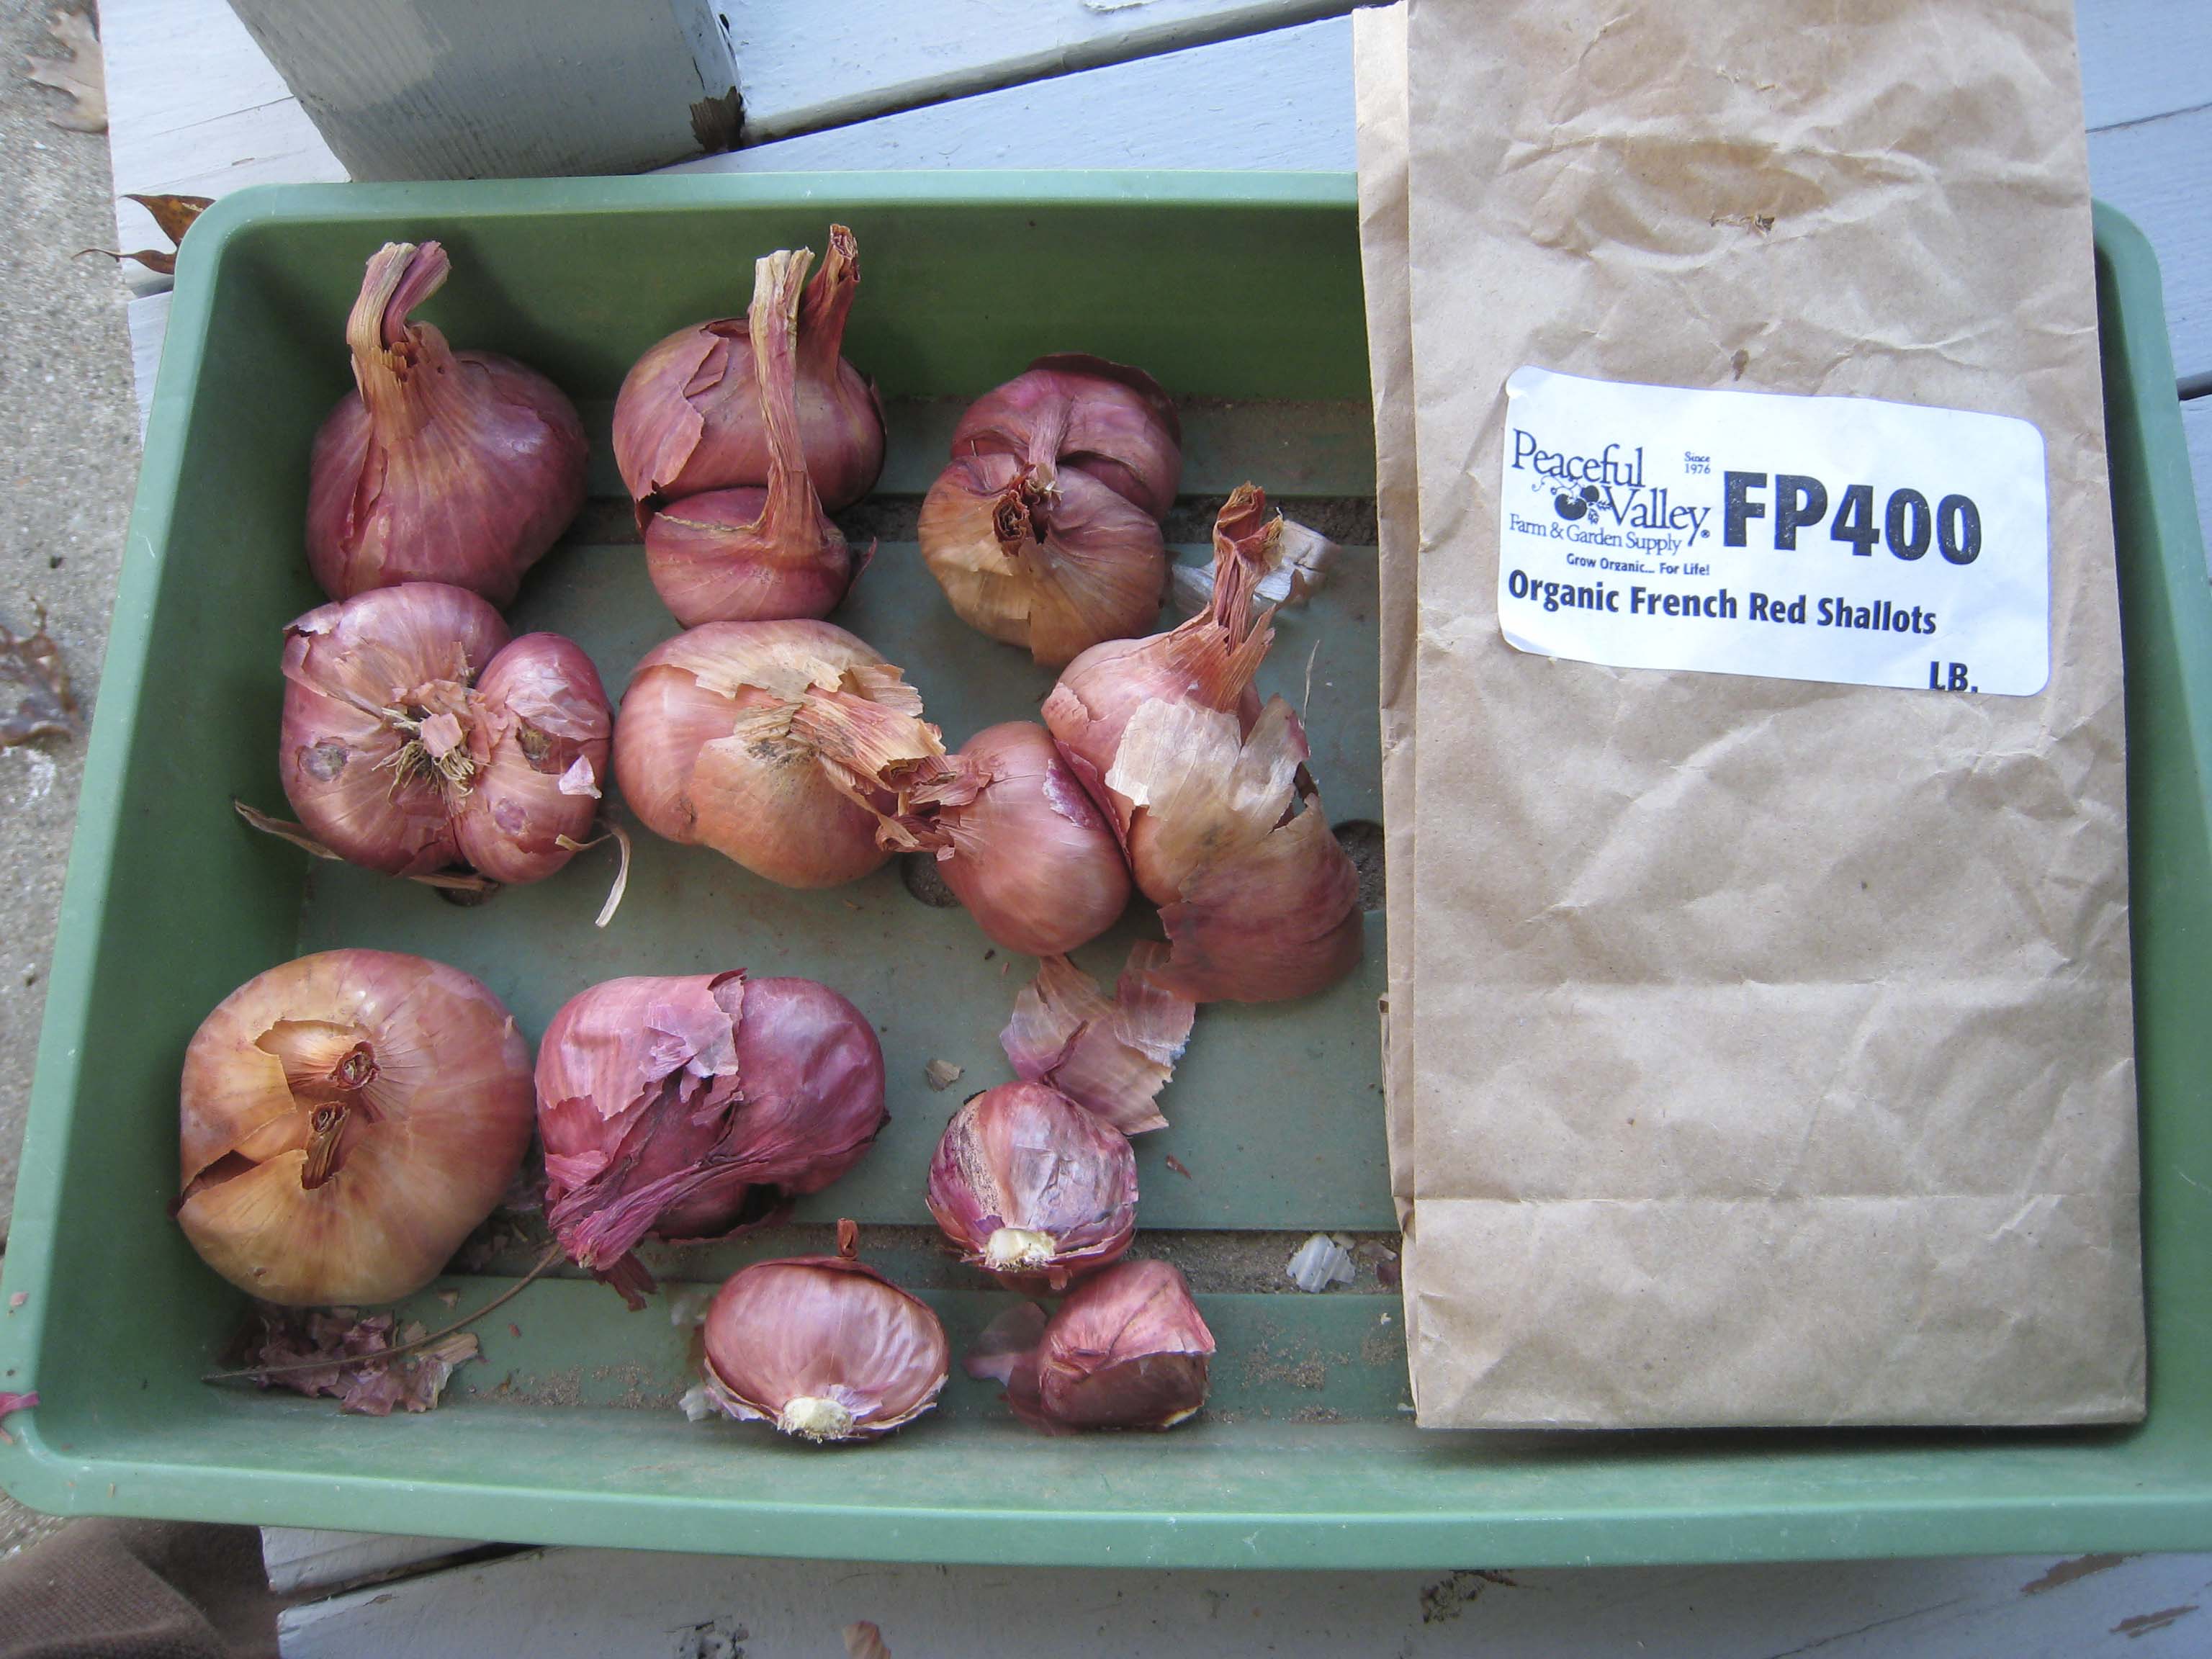
Varieties or Colors Available
- Gray Shallots:
- called the true shallot
- standard culinary shallot
- can become unpleasantly pungent
- must be planted in the fall
- likely to dry if stored through the winter
- hot weather makes them taste fierce
Growth Requirements
Climate & Temperature Requirements
Air Temperature
Soil Temperature
Humidity
Day Length or Light Requirements
- unlike with onions, day length is rarely a consideration with shallots
Site Conditions Favored
Soil Requirements
Soil Texture
- well-drained – very important
- looser soil equals bigger shallots
- must have good drainage or the bulb will rot
pH
- ideal: 6.0-6.8
- very tolerant: can grow in 5.0-7.0 soils, although not ideal
Nutrient Requirements
- shallots prefer fertile soil
- use fully broken down compost, from either animal or vegatable sources, but no cedar or redwood
- shallots need ample phosphorus
- considered to be light feeders
Propagation
Methods of propagation
Seed
Bulbs
Shallot bulbs for seed stock
- in very cold areas, plant in spring
- in areas with milder winters, they can be planted in the fall
- bulbs are direct-sown
- separate individual bulbs if still attached at the root
- root end goes down into the soil
- see Bed Spacing in section below
- water well after planting
- plant them so the tip is level with the soil
Transplanting or Potting Up
Seed Saving
Planting Out
Bed Prep & Soil Amendments
- turn under (or till in) fully-aged, aerobic compost with no cedar or redwood residues
- make sure it has ample phosphorous
- line the bed with gopher wire or hardware cloth, since gophers like shallots
Bed Spacing
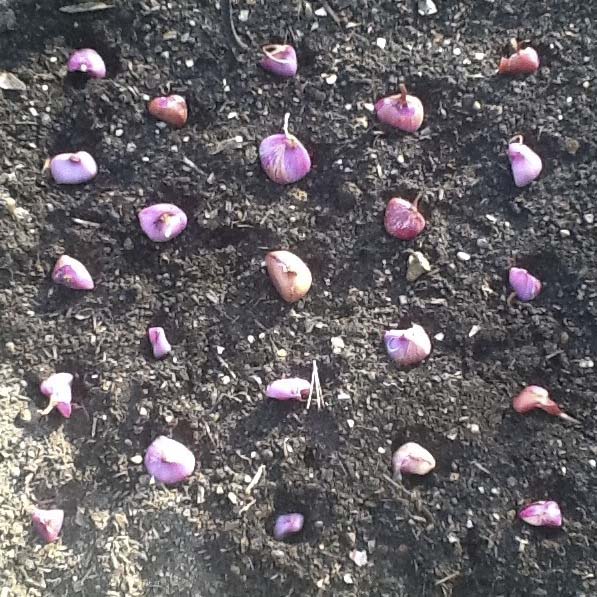
Shallots planted biointensively at 4″ spacing.
- traditional: 6-8″ apart in rows 10-12″ apart
- biointensive: 4″ apart in all directions
- 240 bulbs (1343 plants) per 100 sq ft
- shallot clusters spread out more than garlic bulbs, so they require more room
How to Plant
- separate bulbs
- larger bulbs are best for planting
- plant them just deep enough for the tip to be level with the soil; you should be able to barely see the tip when done
- shallot bulbs are prone to rotting, and aren’t very strong to push out of the dirt, so don’t add any mulch
Routine Cultivation & Maintenance
Water Requirements
- water well at planting, then don’t water again until soil is dry
- water only when soil is dry
- in the spring once they start growing, give them 1″ water per week
- must have good drainage or the bulb will rot
- 1″ water per week
Fertilization Recommendations
- in spring feed shallots with either composted manure or well-balanced fertilizer before the bulbs start growing
- fertilize in spring with a balanced fertilizer
- considered to be light feeders
Mulching & Weeding
- keep them well-weeded
- mulch is not recommended, since they are prone to rotting if the tip is covered; they aren’t strong enough to push through the mulch
Pinching or Pruning & Dividing
- remove flower stalks so their energy goes into bulb formation
- I don’t think the bolted bulbs need to be harvested, like with onions; just make sure to clip off the flower stalk as low as possible, as soon as possible
- 10-20% of the leaves can be cut for cooking without decreasing yield of bulbs, when leaves become abundant
Support
- no support or staking needed
Winterizing
Container Gardening
- planting shallots 6″ apart in deep pots of light soil mix, with 1/4 of the bulb above soil, will give you shallot greens for cooking all winter long, and look great in a sunny spot or in a window sill.
- keep them moist, but not wet
Companion Planting
Helpful Companions
Harmful Companions
Companion to..
Pests, Diseases & Problems
Common Pests
- gophers
- wire traps
- chicken wire or hardware cloth under the garden bed
Common Diseases
Symptoms
Whole Plant
Leaves
Stem/Trunk
Flowers
Fruit
Roots
Harvesting & Storage
Edible Parts of the Plant
Shallot Greens
- 10-20% of the leaves can be cut for cooking without decreasing yield of bulbs, when leaves become abundant
- some cuisines value shallots mainly for their greens
- like scallion greens, but much more delicately flavored
Green Shallots
- young shallots that haven’t bulbed out yet
- like green garlic, green shallots are extraordinarily delicate and warm-tasting
- in temperate areas, plant any sort of shallot in autumn and soon you can have green shallots for cooking
Shallot Bulb
Yield
- 1 shallot bulb will yield 5-12 bulbs around the original bulb
- biointensively:
- minimum: 60 lb./100 sq. ft
- average: 120 lb./100 sq. ft
- excellent: 240+ lb./100 sq. ft
Days to Harvest / Harvest Timing
- can be harvested at any time, but for the bulb to be at its prime, wait till the green tops start dying
- Shallots are ready when the tops start drying
Harvest Methods
- pull up the clump and let them dry in a warm place out of sunlight with good air movement
- sun burns them and makes them rot
Storage of harvest
Fresh
- mesh bags in a cool dry area
- shallots keep up to 8 months, at 35-45 degrees F
Canned
Frozen
Shallots can be frozen whole, in chunks, sliced or minced – no blanching required!
Pickled
Dried
Cooking
Nutritional Benefits & Values
Toxicity
Cooking
Preparation
Cooking Methods
Click here for Recipes
Resources
Information for this article was taken from these sources.